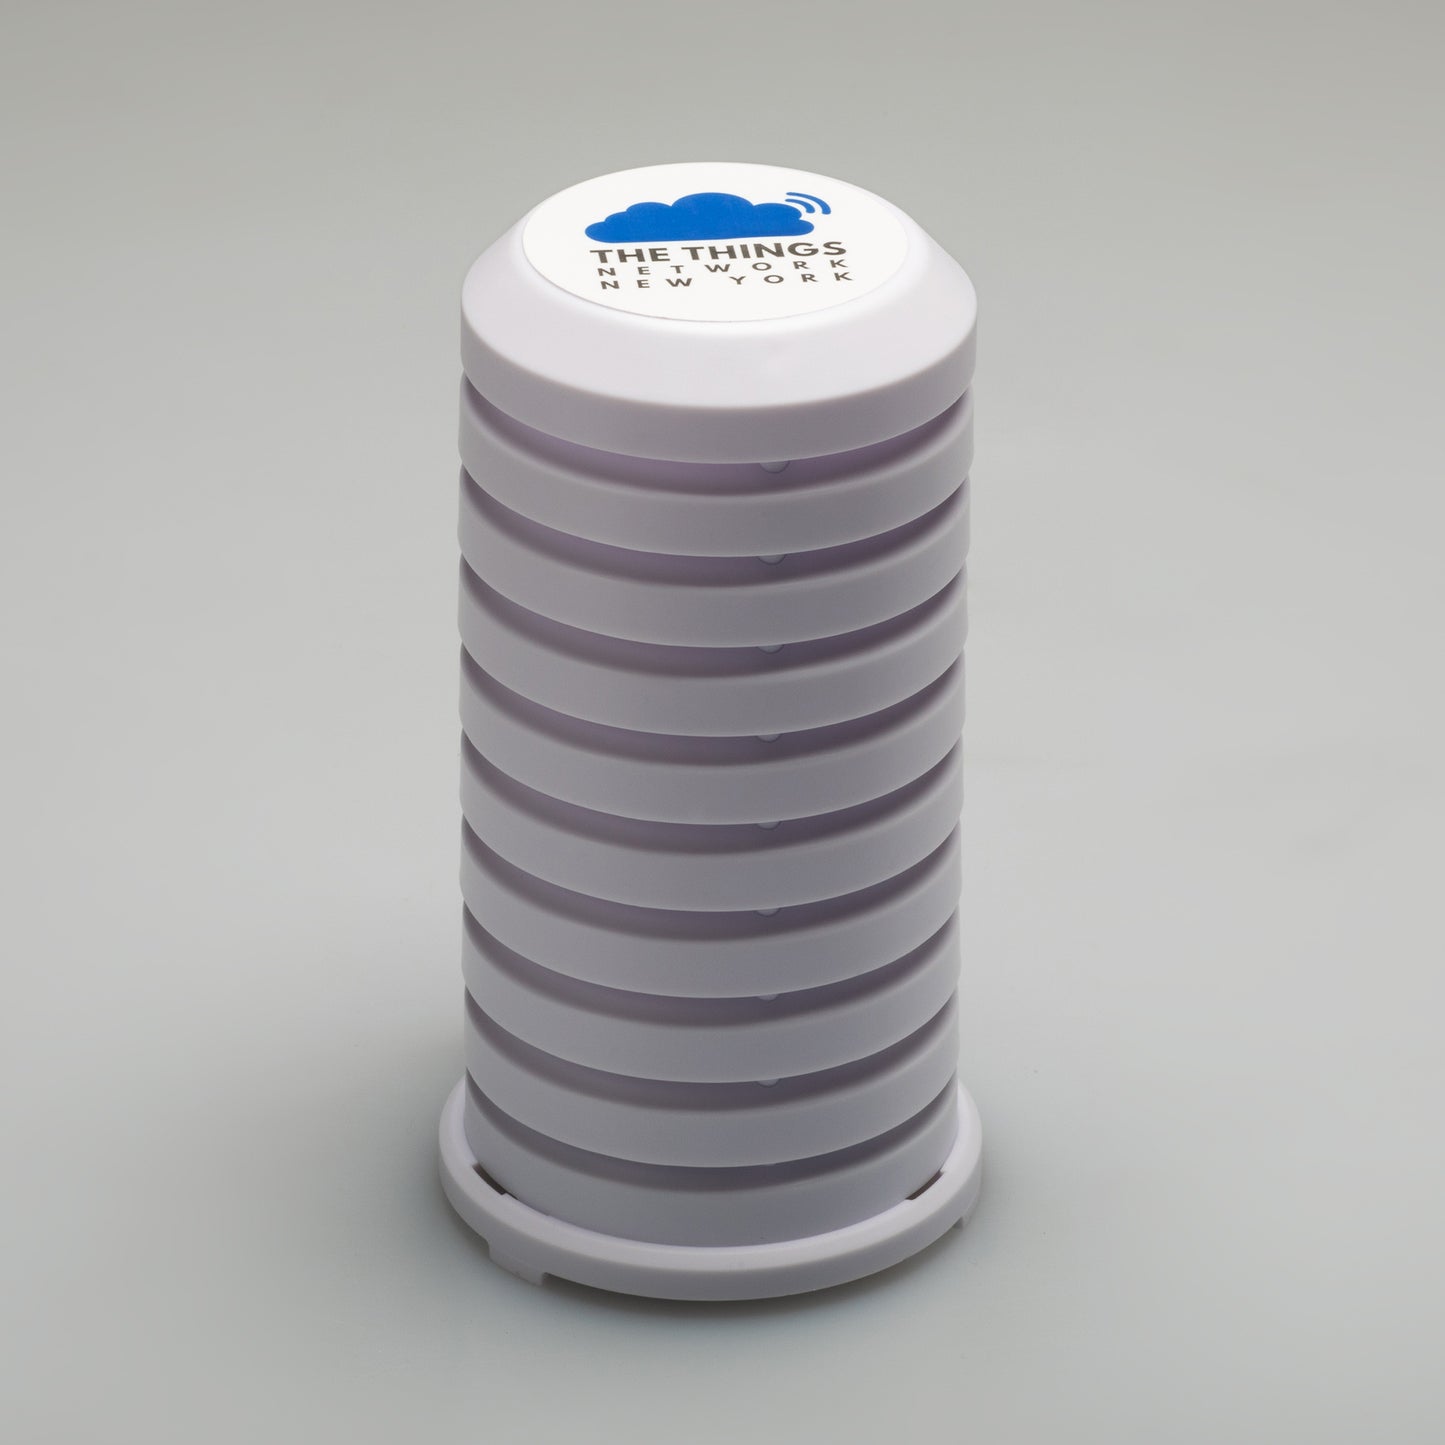
La Crosse® Technology Sensor Weather Shield
La Crosse® Technology Sensor Weather Shield
Regular price
$ 19.95 USD
Regular price
Sale price
$ 19.95 USD
Unit price
per
SKU:123001379
84 in stock
Couldn't load pickup availability
Sensor shield only, sensor is not included.
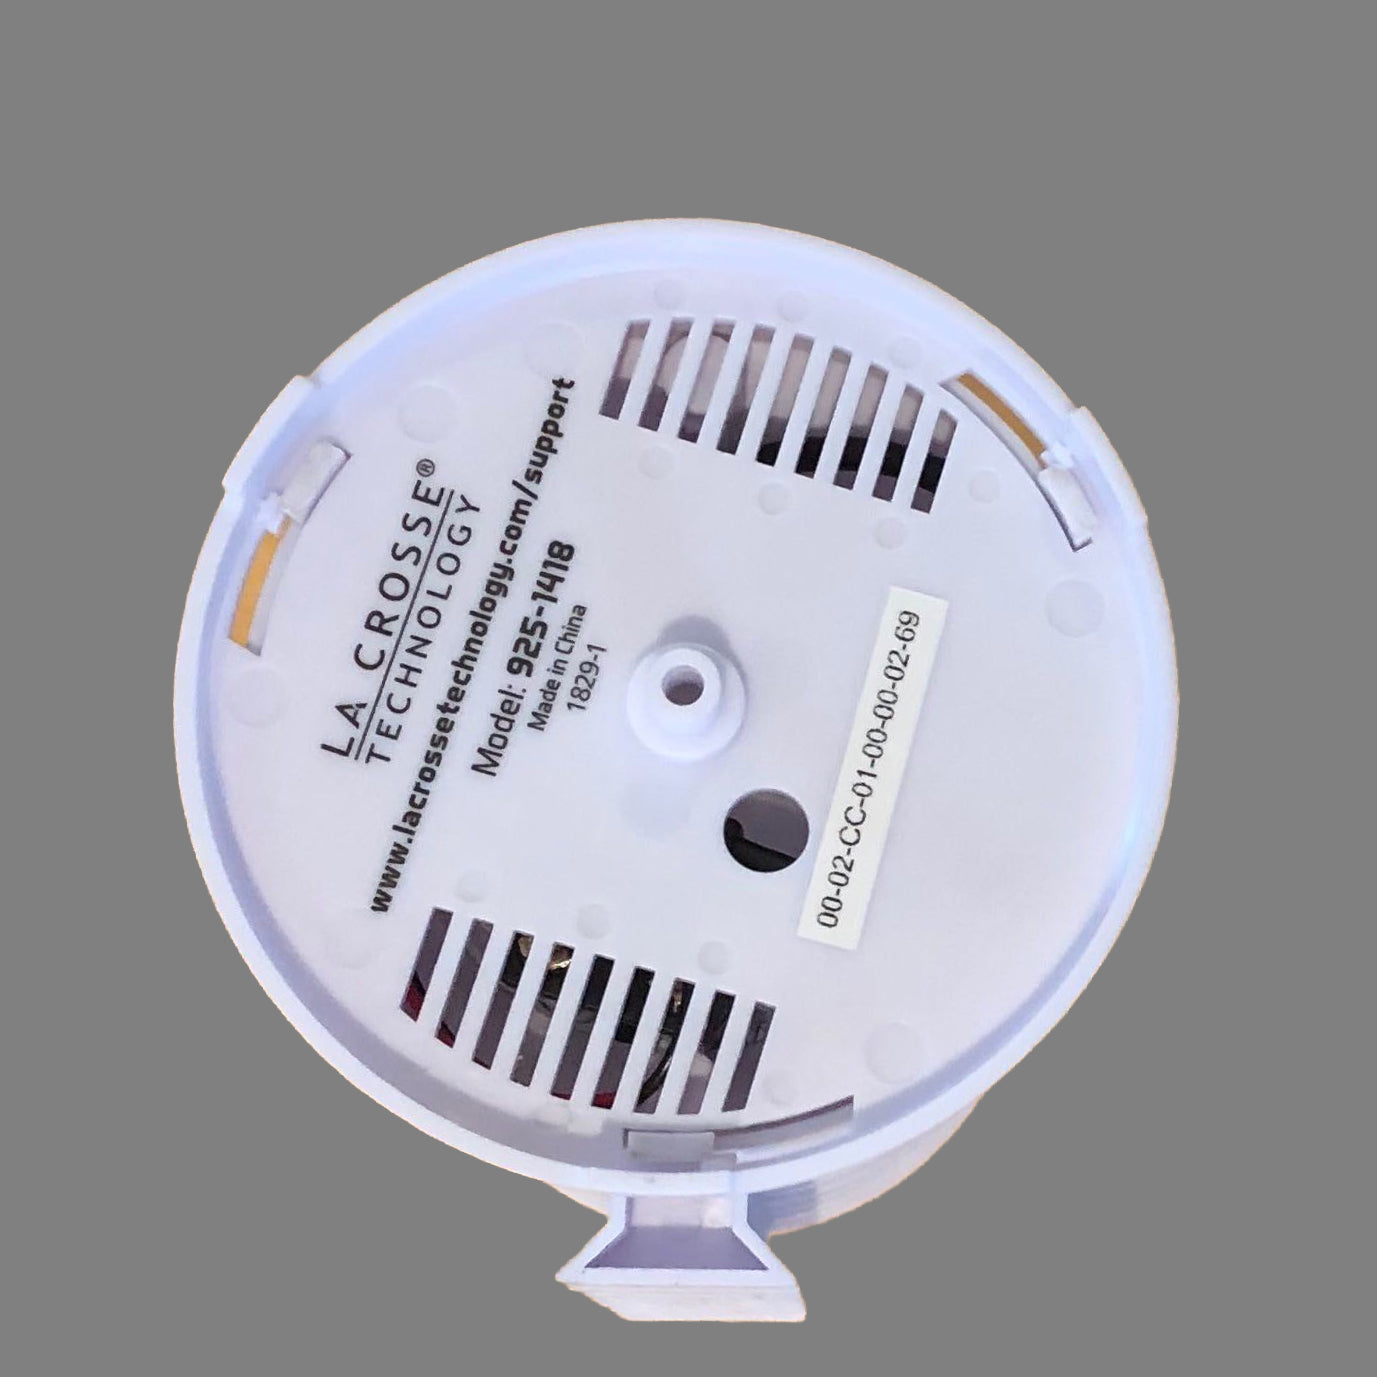
Mounting to a flat surface
- Twist the cover clockwise to remove the base.
- Place one long screw through the center hole of the base.
- Tighten until the head of the screw is flat with the base.
- Do not overtighten.
Mounting to a wall or post
- Slide the mounting bracket down and remove from the cover.
- Take note of the UP ARROW on the back of the bracket.
- Find a shaded location and attach the bracket (arrow UP) with the four screws (included), or with the two zip ties (included).
- Note: Allow room to slide cover onto bracket.
- Slide the shield down onto the bracket.
Insert a sensor for protection from the elements
- Twist the cover clockwise to remove the base.
- Attach the Velcro tape to the sensor and to the upright on the base. This keeps the sensor from tipping.
- Alternately, secure the sensor with a zip tie.
- With a probe sensor, be sure the probe wire fits through the round hole in the base.
- Place cover over sensor and base. Twist counter clockwise to lock into place. Sensor must fit entirely in the sensor shield to be protected.
- Mount the sensor shield so that the sensor is in range of the display.
See photos of MCCI Model 4831 for examples of how to mount sensor. A Feather-size board plus a 2xAAA battery case will fit well.
Dimensions
- 7.00" x 3.73" x 3.98"
LoRa and Semtech are registered trademarks of Semtech Corporation. LoRaWAN is a registered trademark of the LoRa Alliance. MCCI and MCCI Catena are registered trademarks of MCCI Corporation. All other trademarks are the property of their respective owners.


